

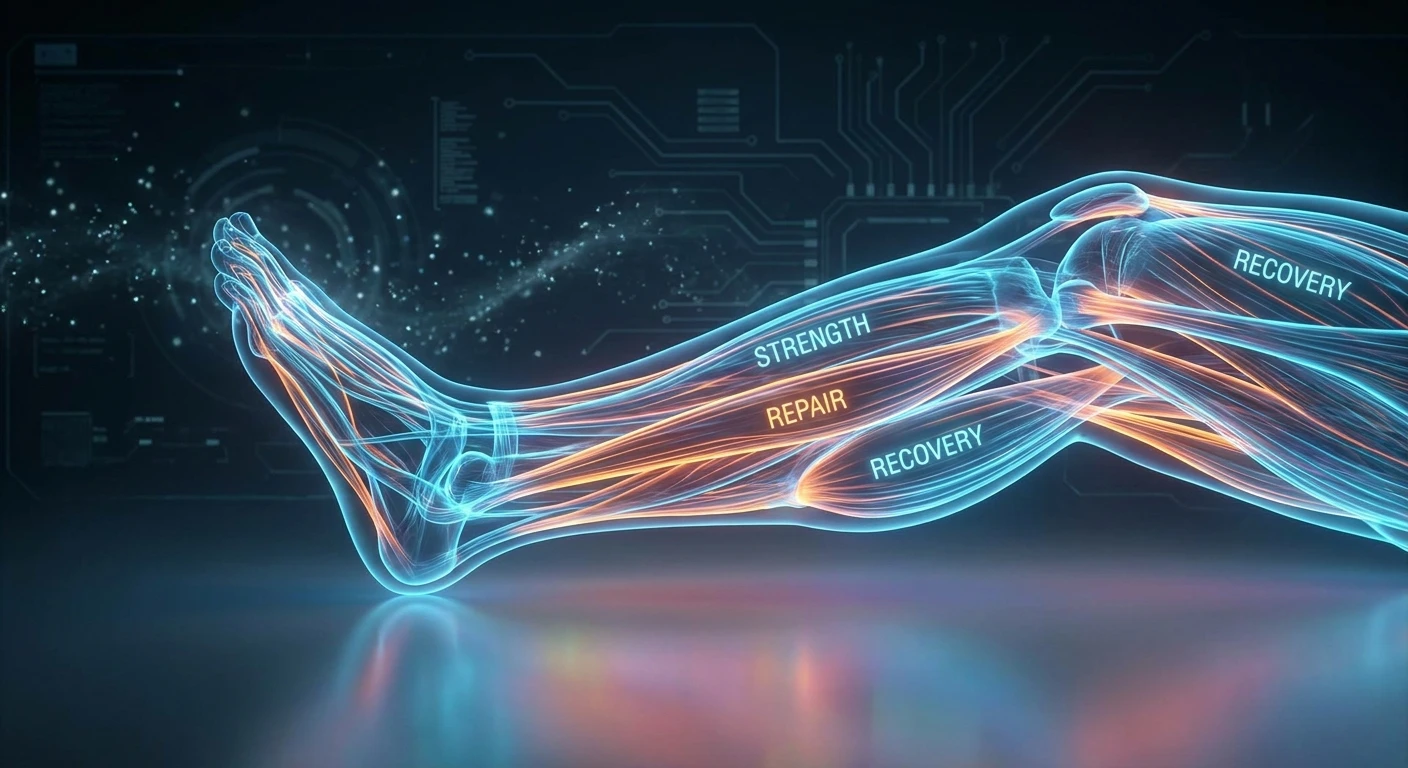
Understanding the Difference: Calf Strain vs Tear
Did you feel that sudden, sickening pop during your morning run and now you’re furiously searching for calf strain vs tear to figure out just how bad the damage really is? Trust me, I know exactly how much panic sets in during that precise second. Last week in Kyiv, I was rushing down the steep, rain-slicked cobblestones of the famous Andriyivskyy Descent. My foot slipped off a wet stone, I caught my weight awkwardly, and boom—an immediate, sharp, burning pain shot right through the back of my lower leg. As an avid runner who hates being sidelined, my mind instantly raced. Was it just a mild tweak, or did I completely rip the muscle off the bone? Navigating the unpredictable terrain of historical Ukrainian streets requires healthy legs, so diagnosing what went wrong was priority number one.
When you are lying on the couch with a bag of frozen peas strapped to your leg, you need answers fast. Knowing the exact difference dictates everything about your immediate future. It determines whether you’ll be resting for a few frustrating days or staring down the barrel of a multi-month rehabilitation program. If you treat a severe rupture like a mild tweak, you could cause permanent scarring. If you baby a minor pull too much, your leg will become stiff, weak, and highly prone to repeat injuries. This comprehensive guide breaks down exactly how to read your body’s signals, why the back of your leg feels like it’s on fire, and the precise steps you need to take to get back to full strength.
Read also: How to Treat a Toe Blister Fast and Stop the Pain; Best Knee Pain Location Chart Guide.
The Core Breakdown: Assessing the Damage
Let’s get straight to the facts. When you push the gastrocnemius or soleus muscles past their absolute physical limits, the biological fibers simply give way. Think of your muscle like a thick, heavy-duty resistance band. A strain means you stretched that band incredibly hard, causing a few tiny microscopic threads to fray and snap. The band still works, but it’s irritated and weaker. A tear, on the other hand, means you pulled that band so violently that a massive chunk of it—or sometimes the entire thing—ripped completely apart with an audible noise. The benefits of accurately identifying your specific injury grade are massive. You won’t accidentally destroy a healing tear by aggressively stretching it, and you won’t lose weeks of muscle mass by over-resting a simple, low-grade strain that desperately needs active mobility to heal correctly.
Consider these two completely different scenarios. In scenario one, you finish a heavy leg day at the gym and the next morning your lower leg feels incredibly tight, tender, and achy. You can walk, but you have a slight limp. That is a classic mild strain. In scenario two, you step off a curb, hear a loud ‘pop’ that sounds like a dry branch snapping, and instantly drop to the ground because your leg absolutely refuses to bear any of your body weight. That is a catastrophic tear.
| Feature | Mild Strain (Grade 1) | Severe Tear (Grade 3) |
|---|---|---|
| Pain Level | Aching, tight, and sore to the touch | Sharp, stabbing, and completely unbearable |
| Mobility | Can walk with mild discomfort or a slight limp | Cannot bear any weight; requires crutches immediately |
| Visual Signs | None to minimal swelling; normal skin color | Severe swelling, deep black and blue bruising, visible dent |
To accurately assess what is going on with your leg right now, follow this simple evaluation process:
- Check for the Dreaded Pop: Try to remember the exact moment of the injury. If you heard a distinct, loud sound—like a gunshot, a thick rope snapping, or a heavy fabric tearing—you are highly likely dealing with a severe rupture rather than just a mild overstretch.
- Assess Your Weight-Bearing Capacity: Stand up using a wall or a chair for support, and gently try to put weight on the injured leg. If the leg simply gives out, feels fundamentally unstable, or the pain instantly spikes to a ten out of ten, you need medical imaging immediately. Do not force it.
- Look for the Physical Divot: Gently run your fingers down the back of your calf muscle, starting from the knee down to the ankle. A complete grade three rupture often leaves a literal gap, hole, or soft indentation under the skin where the muscle fibers rolled up like a broken window blind.
Origins of Muscle Injury Classifications
Let’s take a quick look back at how we actually started categorizing these lower leg injuries. In the early days of sports medicine, doctors honestly didn’t have a standardized, clear system for separating a minor tweak from a catastrophic, career-ending rip. Everything from a micro-tear to a massive rupture was simply labeled a ‘pulled muscle.’ Athletes who suffered severe damage would just get aggressively rubbed down with some incredibly foul-smelling, sketchy liniments, wrapped in thick bandages, and told to aggressively walk it off on the sidelines. The origins of our modern, structured grading system (Grades 1, 2, and 3) were born purely out of professional necessity. As professional sports grew into massive financial empires, teams demanded highly predictable, scientifically backed recovery timelines to protect their investments.
Evolution of Diagnostic Tools
For decades, orthopedic physicians had to rely entirely on their bare hands and patient feedback. They would aggressively palpate the injured leg, digging their thumbs into the tissue looking for hidden swelling, heat, or structural gaps. While highly experienced physical therapists were incredibly intuitive and accurate, human hands couldn’t see the exact microscopic fiber damage hidden deep beneath the fascia. The evolution of sports medicine took a massive, unprecedented leap forward when high-resolution ultrasound and MRI technology became globally mainstream and affordable. Suddenly, we could look directly inside the damaged tissue in real-time. We transitioned rapidly from making educated guesses based on a patient’s subjective pain tolerance to actually seeing the exact percentage of compromised muscle fibers on a digital screen.
Modern State of Leg Rehab
Now that we are solidly in the year 2026, the entire philosophy of how we handle these soft tissue injuries has completely shifted. We no longer just slap a heavy plaster cast on a damaged leg and tell you to stay in bed for six agonizing weeks while your muscles atrophy into nothing. The modern state of rehabilitation strongly emphasizes incredibly precise, early mobilization and active, blood-flow-driven recovery. We now use advanced wearable biometric tech to monitor muscle firing patterns, and doctors are incredibly specific about the exact grade and location of your injury. Knowing the granular difference between these injuries is no longer just a luxury reserved for elite Olympic athletes; it’s the absolute standard of care for anyone who accidentally steps off a curb wrong and hears that terrifying popping noise.
The Anatomy of the Lower Leg
Let’s get a bit technical for a moment, but I promise to keep it super simple and easy to digest. Your calf complex is mainly made up of two distinct, powerful muscles: the big, bulky, visually prominent gastrocnemius on the outside, and the flatter, wider, endurance-focused soleus hidden underneath it. Both of these massive muscles merge at the very bottom of your leg to form your Achilles tendon, which connects to your heel bone. The gastrocnemius is unique because it crosses two major joints (the knee and the ankle), which makes it exceptionally vulnerable to being violently overstretched. When you sprint, jump, or suddenly change direction during a tennis match, a truly massive amount of kinetic force travels through this specific tissue. If the generated force suddenly exceeds the tensile strength of the muscle fibers, the cellular matrix fundamentally fails.
Cellular Breakdown and Healing
When those structural fibers fail and snap, your body’s immune system instantly triggers a massive, aggressive inflammatory response. Millions of macrophages rush via your bloodstream directly to the injury site to furiously clean up the dead, destroyed cellular debris. This intense microscopic cleanup operation is exactly what causes that intense, throbbing, hot swelling sensation you are feeling right now.
- Myofiber disruption: Even a very minor grade 1 injury involves actual microscopic tearing of the myofibrils, causing localized, hidden bleeding inside the tight muscle sheath.
- Fibroblast activation: Within mere days of the injury, your body sends specialized cells called fibroblasts to rapidly lay down type III collagen, essentially frantically patching the torn area with disorganized, temporary scar tissue.
- Remodeling phase: Over the course of several weeks, that weak, haphazard type III collagen is slowly, methodically replaced by much stronger, organized type I collagen, but only provided you apply the correct, progressive physical load during rehab.
- Neuromuscular inhibition: As a protective mechanism, your brain actively shuts down the nerve signals to the damaged muscle to prevent you from using it and causing further catastrophic harm.
Day 1: The Immediate Shutdown
Stop doing whatever you are doing immediately. The very first 24 hours are highly critical for controlling the massive internal bleeding. Apply an ice pack wrapped in a damp towel for 15 minutes every two hours. Compress the leg firmly with an elastic bandage, and elevate your foot far above your heart using a stack of pillows. Do not try to stretch it. Do not test it to see if it still hurts.
Day 2: Assessment and Medical Clearance
If you literally cannot walk or bear any weight today, you need to go to a doctor or a sports clinic right now. Demand a diagnostic ultrasound to officially confirm the exact severity of the damage. If a professional diagnoses it as just a minor pull, you can safely continue the strict rest, compression, and ice protocol at home.
Day 3: Gentle Mobility Introduction
If the sharp, stabbing pain has subsided into a dull ache, it is time to wake the leg up. Sit on the edge of a chair and start slowly moving your ankle in tiny, painless circles without using any resistance bands. We simply want to pump some fresh, oxygen-rich blood into the general area to help the lymphatic system clear out the stagnant swelling.
Day 4: Heat and Massage Transition
It is time to completely ditch the ice and switch over to heat. Use a warm, damp towel or a heating pad to loosen the tight, guarding tissues surrounding the injury. Gently use your thumbs to massage the healthy muscle areas safely around the injury site, but absolutely do not press directly onto the exquisitely damaged, healing spot.
Day 5: Isometric Contractions
Try gently pressing the ball of your foot against a solid wall or heavy piece of furniture without actually moving your ankle joint. This static, isometric hold safely tells your nervous system that it is finally safe to start engaging the motor units and muscle fibers again without putting dangerous tension on the fresh scar tissue.
Day 6: Light, Controlled Stretching
Grab a long towel or a rigid yoga strap. While seated on the floor with your legs out, loop the towel around your foot and gently pull your toes toward your body. Keep the knee slightly bent first to strictly target the deeper soleus muscle, then straighten your knee completely to target the upper gastrocnemius. Stop immediately if you feel any sharp, biting pain.
Day 7: Weight-Bearing Tests
Try slowly walking around your living room barefoot without using a crutch, walking boot, or heavy brace. Focus intensely on maintaining a perfectly normal, fluid heel-to-toe gait. If you find yourself violently limping or hiking your hip up to avoid pain, you simply aren’t ready for full weight yet. Retreat back to the day 5 protocol and be patient.
Debunking Lower Leg Recovery Myths
Myth: You should aggressively stretch a pulled muscle immediately to prevent it from permanently locking up and cramping.
Reality: Stretching a freshly damaged, bleeding muscle simply rips the frayed, broken fibers even further apart. You absolutely must let the initial biological glue and temporary scar tissue form first before adding tension.
Myth: If you can still walk on the leg, it definitely isn’t a severe tear.
Reality: You can completely and totally tear your medial gastrocnemius head off the tendon and still manage to limp around poorly by relying heavily on your soleus and deep flexor muscles. Pain and basic mobility are not perfect indicators of structural integrity.
Myth: Blasting the injury with hot heating pads is the absolute best thing for a fresh leg injury.
Reality: Applying intense heat during the first fragile 48 hours dramatically increases the internal bleeding and swelling, effectively delaying your overall recovery timeline by several weeks.
Does a strain require surgery?
No, conservative physical therapy treatment is almost always enough for grades 1 and 2.
Can an ultrasound show a torn calf?
Yes, diagnostic ultrasound is actually one of the fastest, cheapest, and most accurate ways to see the damage.
How long does a grade 2 injury take to heal?
Usually, you are looking at somewhere between 4 to 8 weeks, heavily depending on your diet, sleep, and rehab consistency.
Should I use crutches immediately?
If you are violently limping, compensating, or in sharp pain while walking, yes, use crutches immediately to unload the fragile tissue.
Can I ride a stationary bike with a pulled calf?
Only after the acute, stabbing pain is totally gone and you have explicit medical clearance, which is usually a few weeks into the process.
Why is my ankle turning dark purple and yellow?
Gravity aggressively pulls the loose internal bleeding and pooling fluids down from your calf directly into your lower ankle and foot over a few days.
Is it ever too late to start physical therapy?
Absolutely never. Even old, improperly healed injuries from years ago highly benefit from modern, targeted strength work.
Knowing exactly what’s going on under your skin is the crucial, foundational first step to a full recovery. Whether you’re dealing with a mildly frustrating ache or a catastrophic major rupture, you must treat your lower legs with intense respect. Don’t leave your mobility to chance or bad internet advice. Book a diagnostic session with a highly rated local physiotherapist today to ensure you heal perfectly, rebuild stronger tissue, and confidently get back to crushing your fitness goals without fear of a devastating relapse!




Leave a Reply